
A few weeks ago I launched a new workshop on Sustainable Stashing: Creating an EcoFriendly Quilting Life. The participants and I are having lots of fun organizing and sewing our stash. (I plan on re-launcing this workshop again later this year.)

In the workshop, I emphasize the importance of using your stash and finishing up unfinished quilts.
I went through all of my fabric stash and organized it. I also purged some fabric and donated it.
I also went through MOST of the bins of ‘in progress’ projects in late May and early June. I committed to finishing several of them this summer. Here are the first two results.
In this post, I am sharing two recent finishes and a bonus tutorial at the end of the post on how I made a really quick “laptop mat”.
Quilt 1: Rescued Curved Piecing Blocks
I took a workshop over 2 years ago taught by a Guild mate. We made blocks with improvisational curves. I found the blocks and fabrics that I had planned to use for this quilt in my project bin. The prints are from the Literary line by Heather Givans. By the way, I keep each of my projects in scrapbook bins that measure about 12 inches by 12 inches–I buy them at local craft stores.

I decided that I liked the fabrics and the blocks looked interesting. I finished piecing and then trimmed the blocks, added some grunge and other near solid yardage and created this top.

One of the best ways to use up stash is to piece backings from yardage that you really don’t intend to use in a project. Here’s the backing–folded in half so that I could photograph it more easily.
I used up over 10 yards of fabric from my stash! I will be donating this quilt to my guild for charity.

Quilt 2: WISH
In another bin, I found an almost finished top made from blocks that I pieced as live demos while I taught Parisian Curves MultiLayer Zoom workshops over the past 18 months. The prints are all from the WISH line by Carrie Bloomston. Here is the top. The green fabric is a Moda Grunge.

I did buy some fabric to finish this quilt because it will be a gift for a friend. I wanted the front and backing to all come from Carrie Bloomston’s line–I love the messages throughout the fabrics. So I bought 1 yard each of two of the prints at my local quilt shop. And, I needed a bit more Grunge for the borders. I also needed this grunge to fill in a color gap in my Grunge stash–I love this color and know that I will use it often.

Here’s a photo of the backing–it is quite large and I apologize for photo quality. I’ll take a better shot when it returns from the quilter. I used all of the prints that I bought and the rest of the backing was from my stash! I used up about 10 yards for this quilt too.

TUTORIAL — LAPTOP MAT
We all make mug rugs. But I needed a larger version to put over my laptop keyboard. Sometimes, I watch videos on my laptop while having a meal. I’m always worried about dropping food or liquid on the keyboard. So I whipped up a quick laptop mat using the pillow case method. (I did not invent this–it’s been around for years!)
I measured my keyboard and added 3 inches to length and width–this is my desired finished size. Next, I cut a piece of batting that was about 5 inches longer and 5 inches wider than my desired finished size.

I pieced a backing from my scraps.

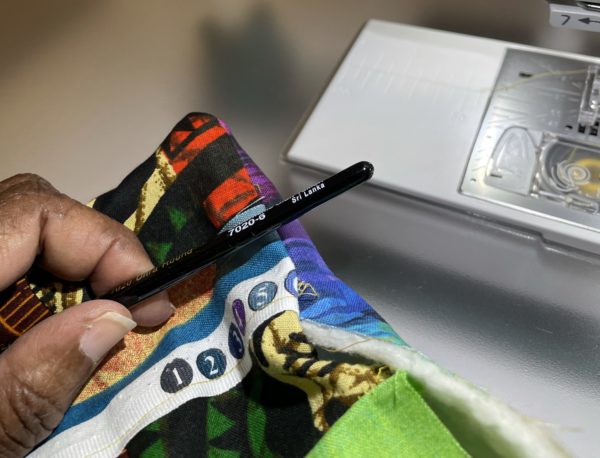
I pieced the top from African squares that were gifted to me by a friend, some solid scraps and collaged on some selvedges. (full photo of the top at the end of this section tutorial).
To make the pillowcase: I put the top and backing RIGHT SIDES together, laid them on top of the batting, and sewed all around the outer perimeter, leaving a 6 inch opening. I sewed about 1/4 inch from the outside edge. I sewed these outside seams from end to end so they crossed over each other at the 4 corners. The crisscrossed seams help make the corners more square.

By the way, I used clips to mark the 6 inch opening so that I wouldn’t sew it shut by accident!

After sewing all four sides, I turned it inside out, and used the end of a paint brush to push out the 4 corners so they were relatively square.

Next, using my walking foot, I quilted around the perimeter to stabilize the edge. I randomly quilted the rest of the mat. And, here’s the finished mat. It’s not perfectly straight, but so what! I love how it gives me a positive lift whenever I look at it.

And here’s how it looks on top of my keyboard. Now, I can eat and drink more comfortably while watching videos! Start to finish–about 1 hour to make this small mat.

I love this.